


Google Colab is a very convenient environment for developers to create and test python applications. There is no extra hardware required, no package installation, No IDE and no servers. However, this convenience comes with some challenges.
Take Flask Apps for example. There are two basic challenges you will face when running Flask Applications in Google Colab.
- Accessing the Server
- Working With Templates
Accessing the Server
When you run a Flask App on a local machine, the Server Address can be accessed through the loop back address (1270.0.1) or sometimes referred to as the localhost.
Unlike running Flask on a local machine, Google Colab provides you with a Virtual Machine (VM) whose localhost:5000 (Server Address for Flask Server and Default port) cannot be accessed directly. Therefore, the solution is to expose this address to a public url. To do this, a simple piece of code must be run before starting your server. this Code will generate a public url from which you can access the server address
from google.colab.output import eval_js
print(eval_js("google.colab.kernel.proxyPort(5000)"))
And the result is

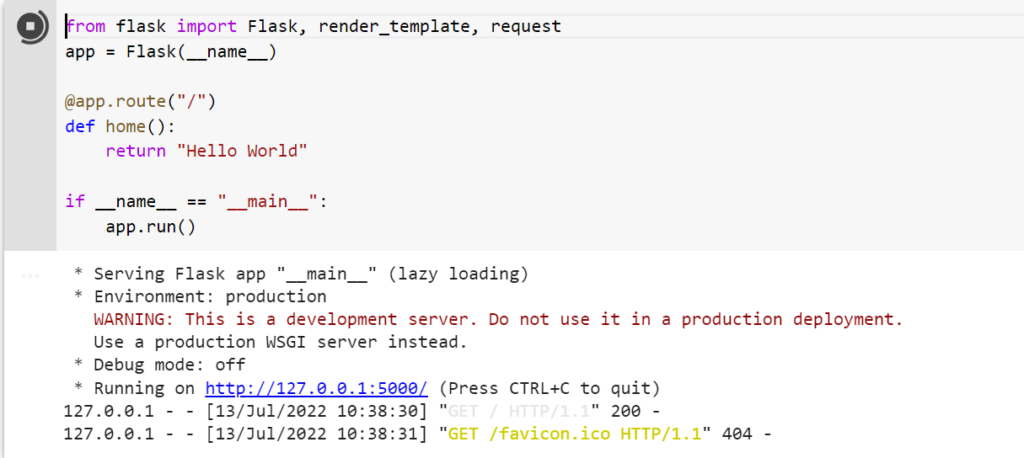
Now start your server and simply access the link that has been generated. Here below a simple code for a Basic flask APP
from flask import Flask, render_template, request
app = Flask(__name__)

@app.route("/")
def home():
    return "Hello World"

if __name__ == "__main__":
    app.run()
When you run your app you should get the result as shown below. It is recommended to use a Chrome browser as there have been cases of this procedure not working with Firefox.

You can watch a step by step procedure on how to go along from the video below
Working With Templates
The power of Flask can only manifest by using your templates. Basically these are dynamic webpages that are rendered by the server whenever a certain path is accessed on the server. These pages are usually html files placed in a templates folder and re rendered when the render_template function is called. The challenge here is that it is not as straight forward as it it when working on a local machine, where you only need to create a templates folder in the same directory as your Flask server script.

Instead, the default directory structure in Google Colab looks like this

You cannot set up a correct working environment for a Flask App with this structure. The solution can be explained in 3 simple steps
- Create a folder named templates on your google drive
- Mount your drive by clicking on the Mount Drive icon
- Your main drive folder will now appear in the directory tree. Browse and locate your created templates folder, copy the folder path and modify your code as shown below.

from flask import Flask, render_template, request
app = Flask(__name__, template_folder='/content/drive/MyDrive/templates')

@app.route("/")
def home():
    return render_template("index.html")

if __name__ == "__main__":
    app.run()
Now inside the template folder create an index.html file and write the desired html code for your home page. Here below is a sample html code for reference.
<!DOCTYPE html>
<html>
<head>
<style>
h1 {
  color: blue;
  font-family: verdana;
  font-size: 300%;
  text-align:center;
}
p  {
  color: red;
  font-family: courier;
  font-size: 160%;
  text-align:center;
}

form{
  text-align:center;
}
input[type=text] {
  background-color: #3CBC8D;
  color: white;
  width: 30%;
  //padding: 16px 20px;
}

.btn{
  text-align:center;
}

.table {
  font-family: Arial, Helvetica, sans-serif;
  border-collapse: collapse;
  width: 50%;
  margin-left: auto;
  margin-right: auto;
  margin-top: 10px;
}

.table td, .table th {
  border: 1px solid #ddd;
  padding: 8px;
}

.table tr:nth-child(even){background-color: #f2f2f2;}

.table tr:hover {background-color: #ddd;}

.table th {
  padding-top: 12px;
  padding-bottom: 12px;
  text-align: left;
  background-color: #04AA6D;
  color: white;
}

button {
  border: none;
  color: orange;
  padding: 15px 32px;
  text-align: center;
  text-decoration: none;
  display: inline-block;
  font-size: 16px;
  margin: 4px 2px;
  cursor: pointer;
}
</style>
</head>
<body>
  <h1>Bitcoin Price Forecasting</h1>

  <form action="/action_page.php">
    <label for="start">Start Date:</label>
    <input type="date" id="start" name="start"> <br>
    <label for="end">End Date:</label>
    <input type="date" id="end" name="end">
  </form>

  <!--<div class="btn">
    <button -->

    <div class="btn">
     <button type="button" onclick="compute()">Forecast</button>
    </div>

    <p id="error"></p>

    <table id="data"  class="table">
        <tr><th>Day</th><th>Opening Price</th></tr>
    </table>
</body>

</html>
Run the App again and you should be able to get the result below

You can also follow the step by step procedure by watching the video here below


